Since I want to archive the original printed cover as precisely as possible. If the original cover has “artifacts”, then that’s the thing we should archive.
Or should I also start to correct typos on cover scan images?
Also, note that descreening is a lossy operation. You can always add it later if you like. But you can’t go back from the descreened version to the original showing the printing marks.
My impression is that nowadays better resizing algorithms are used.
When starting with 600 dpi scans like the one I linked above, I don’t see Moiré patterns neither in the smaller versions automatically produced by archive.org, nor in the scaled down versions in Firefox.
Let me put it that way: better a high dpi scanned cover without any editing than no cover at all.
beside that I still do not agree.
first a comparison of different resizings
you have to look at it at 100% screen size. From top to bottom:
Firefox
chrome
Photoshop CS6 Workspace
Irfanview in Resample Mode
Descreened http://i.imgur.com/GB4gzD9.jpg
In all resized versions there is a pattern except the descreened (there is just some noise); firefox resamples best, chrome worst.
What I don’t get is, why store the screen pattern when you are not supposed to see it. You look at a album cover from ~30cm distance, you should not see the screen and if you do, it is a really bad print (hello naxos). I just don’t see the benefit, I just see the disadvantage: bigger filesize and probably emerging patterns when it is resized.[quote=“spitzwegerich, post:61, topic:260843”]
But you can’t go back from the descreened version to the original showing the printing marks.
[/quote]
why would anyone want that? just because we can store that information does not mean it is reasonable to do it.
I just don’t think that an unaltered reproduction is necessarily most “true” representation. I don’t correct typos, but I correct shine through, yellowed paper, faded color, dust, scratches; I correct the printing grid if the different color screens are not perfectly aligned (convert to CMYK and align the channels manually),… So yeah, if I think the printing process introduced some loss or artifacts I try to remove them.
I don’t know, and I’m guessing you don’t know either, what some unknown person wants to use the archive for a year from now. Or five years from now. Or 500 years from now. (The Internet Archive, who’s hosting the CAA images, are literally thinking hundreds, if not thousands, of years ahead when they’re planning their operation.) Maybe someone wants to run an analysis on the number of “dots” or the number of “dots” in a given colour. This information is lost in the descreening, as @spitzwegerich said, and you can’t reliably revert back to the undescreened version.
Because we archive it, and that means to stay as closely at the original as possible. Don’t correct typos. Don’t re-draw the cover art when you don’t like it. Don’t remove those printing marks. Don’t alter the original content it in any way – archive it.
The comparison of the resized images is interesting. However, on my computer Firefox (53.0.3 on Ubuntu) produces results better than every single image in your list, including the last descreened one. I can’t recognize any Moiré pattern and the edges look more crispy than your “descreened” version.
I agree (if done carefully), as there is a fundamental difference: Those are damages which happened after the production of the front cover. They don’t belong to the original.
(On the shine through: This is not exactly a damage. But it is something that heavily depends on the ambient light when looking at the image, and we should try to capture the image in a “neutral” lighting environment.)
I don’t think that we necessarily need an answer to that for justification.
But looking at your descreened version which is a bit blurry and uneven, maybe in 20 years people think: They have put all this effort in scanning. But how bad that they applied that shoddy descreening algorithm to it! We could do that much better and completely automatically by now.
You’re probably just lucky. Firefox probably scaled the image down far enough that moire is not an issue with its downscaling algorithm - which - unlike the descreening process - probably adds blur to smooth things out.
Yes, text doesn’t look as crisp after descreening, but I believe the sharpness may be an illusion caused by the sharpness of the screen pattern. As the process removes the frequency of the screen pattern instead of image detail, it merely reveals the lack of resolution a CD cover has to offer.
More often than not I get the illusion that descreening reveals the image behind the pattern. It makes the fine pencil lines in this part of the image almost readable.
These were made using the descreen.net plugin, btw.
This.
Looking at the screen dots is the equivalent of looking at pixels in a digital image. They’re not supposed to be looked at at this kind of magnification.
What we’re trying to do here is turning analog prints into digital images. I see descreening as part of the process as I try to capture the image rather than the print.
And that is the question here. Are we trying to capture images or ink dots?
I don’t know where the descreening is actually done. Maybe it is not Firefox itself, but that some routine from the underlying X-Server is called. Who knows. Anyway, this shows that there are algorithms capable of descreening on-the-fly and fully automatic, in very satisfactory quality.
Well, archiving the original cover image at 600 dpi, I expect the printing dots to be there. Because they are there in the original cover at that resolution.
I’m a bit surprised about this. A few posts ago you told me that you want to capture even the texture of the paper.
That is rather small. You can use Firefox’s zoom to see what happens when it doesn’t need to scale it down that far. Its resampling algorithm (bilinear from what I understand) is doing a good job at hiding the screen pattern at this size, though.
With a descreened image one could get away with using a sharper resampling algorithm and retain more detail.
But we’re descreening AND scaling down to a more appropriate size that actually requires descreening.
If you can’t descreen you have no other sensible choice than keeping it at 600dpi. You’re not breaking the pattern by scaling it down or capturing it badly, but you’re not fixing it either.
It is a problem that needs fixing, as in the digital domain it will cause nothing but issues. And if you want to bring it back into the analog domain by having it printed it will also cause issues.
Without descreening it’s only good at 100% and scaled down to sizes at which image detail is lost.
Paper tone is part of the image I’m trying to capture. I better not break it.
I don’t see slightly duller whites as a problem to begin with, and I don’t think there is a way to fix it without causing new problems.
Well if the focus of the coverartarchive is to archive what printing processes have been used in the music industry then don’t use jpg and use 1200dpi or more. Also if you add your untouched 1200dpi pngs to an release that already has processed scans, don’t replace them just add them with a high-res comment.
@jpg: jpg is pretty bad if further processing will be done. jpg (high quality) is totally fine for final publishing or where only minor alterations are expected to be made.
@dpi: this is a 600dpi scanned artwork printed in high quality, the printing screen is already smudging together and I don’t know if the people of the future would be able to do a proper dot analysis. better use 1200dpi for archival scanning.
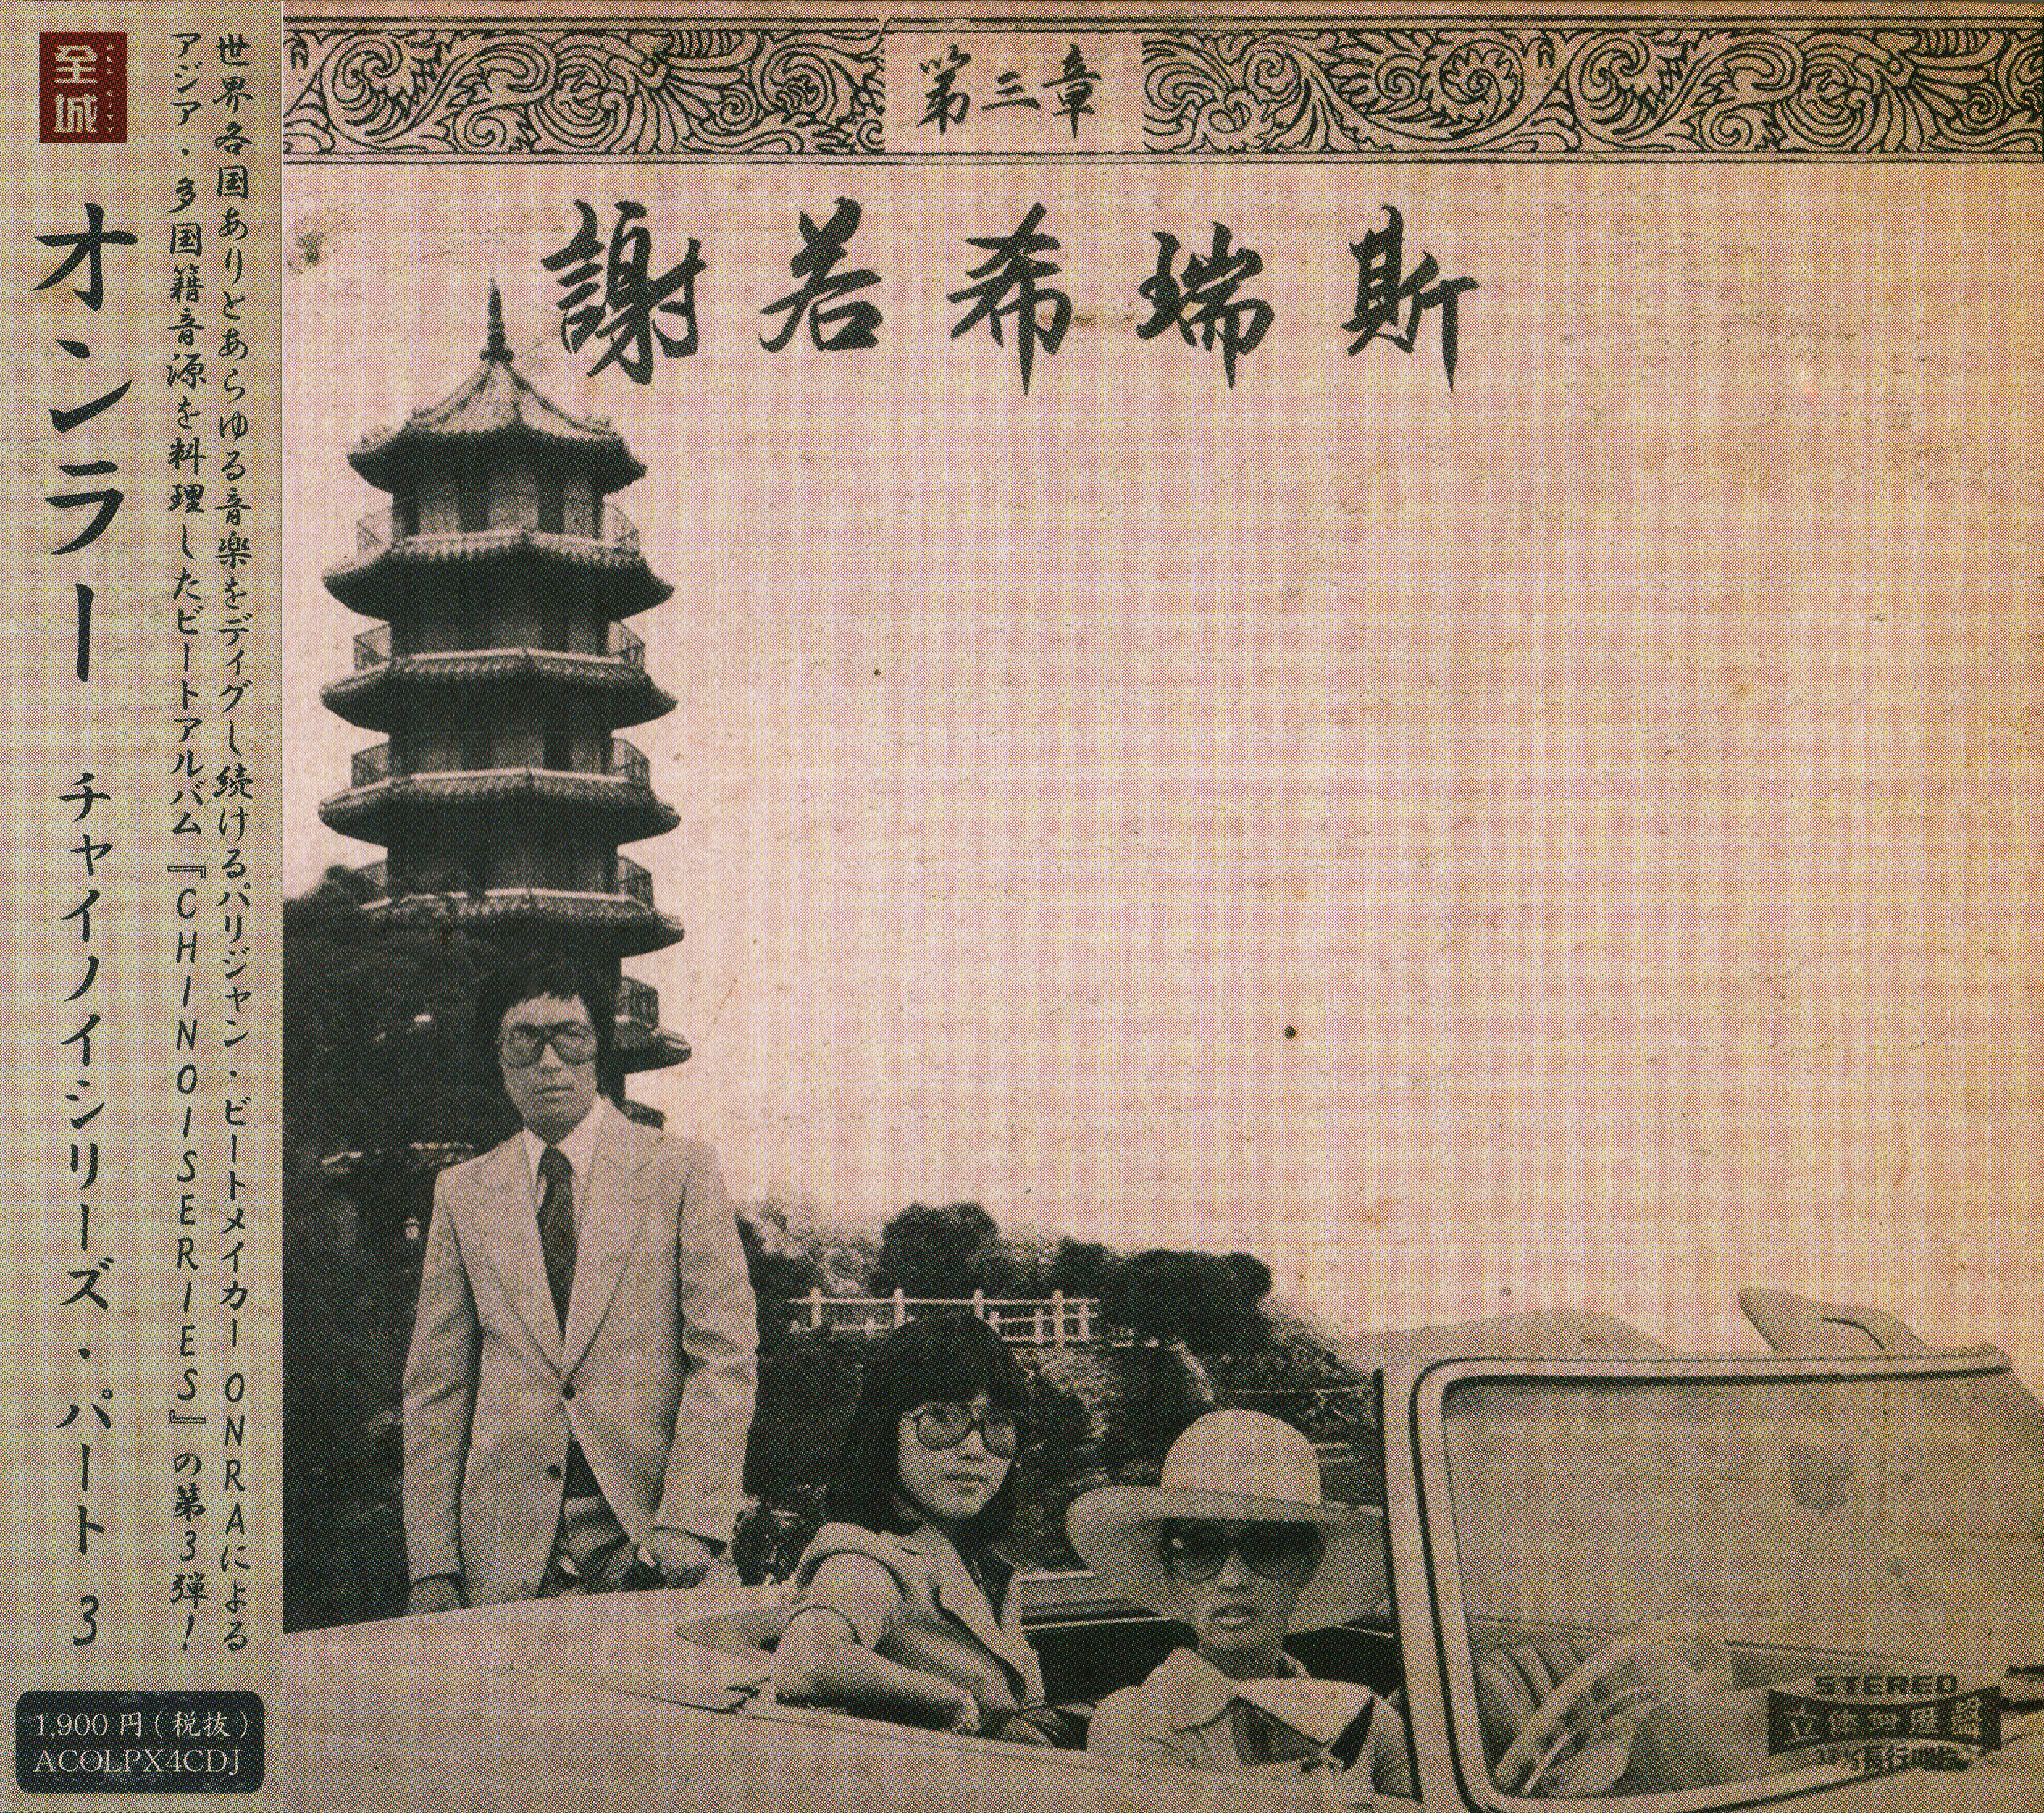
Actually the screen pattern looks clean except for one large area between the guy’s face and the tower where it’s blurry. Must be a CIS scanner. Lots of horizontal lines as well. Maybe we should postpone digitizing for a decade or two until consumer scanner technology can produce better results.
I have long thought about how easy it would be to mark an image as ‘raw’ (I think they had a similar ‘needs work’ marker in albumartexchange where I may have gotten the idea?) to make everyone feel better about uploading unadulterated high-res scans that other people can find and mess with to their specifications later.
However I honestly don’t think we have an active enough scanning/image uploading community yet to split work like that.
That’s a good idea actually. Being able to mark and find unedited high resoltuion scans would get things started. We’d also need good instructions to help people make good scans.
I’d like to add my 2 cents to the discussion.
Not going to go over de-screening processes but it’s great to know somebody uses Sattva’s plugin as well.
It’s not perfect (careful with text) but INMHO best one out there. Been waiting for version 6 (good to see beta 6 is out).
Personally, my CD collection is relatively small so I don’t scan all that often. Anyways, my current scanner is an All-in-One, so it sucks. Nonetheless, I do have some experience in this area and I must say it’s hard work getting it right.
(Next post coming right up)
What I’m fussy about (something people overlook) are images that are crooked.
There are 2 techniques in Photoshop:
One when cropping you can use that straighten tool in Crop menu.
This second technique I discovered myself: Bring out the ruler tool (in the eyedropper menu). Where you know it should be straight, say a box or even type, “run” a line with the ruler from one edge to the other. Now, Image|Image Rotation|Arbitrary and you’ll see PS automatically fills in the angle with the angle set with ruler. Apply. Thing is you have to now crop it.
GIMP has a plugin for that, and I definitely make heavy use of it. “Autorotate Layer” or something, and like before, I don’t know where I originally downloaded it. Only time I wind up using the Bezier pen outside of Inkscape.
That’s exactly how it should be done imho. I also use type or boxes instead of the cover’s edges as I want to get the image straight, not the piece of paper it’s printed on which may not be cut out properly
I’m on the beta now and it’s great.
All-in-Ones sure have their shortcomings, but they can be great for scanning discs. Their limited depth of field is an advantage in this case. For covers not so much. You really need to put some weight on them to get them flat enough to not get blurry spots.
Might work, but doesn’t sound like the one I use. Only place I’ve found it so far (the plugin repository site doesn’t seem to work on my phone) is #2here, and the link that gives is dead.
