…continuing the “copy stand post” above (as promised)
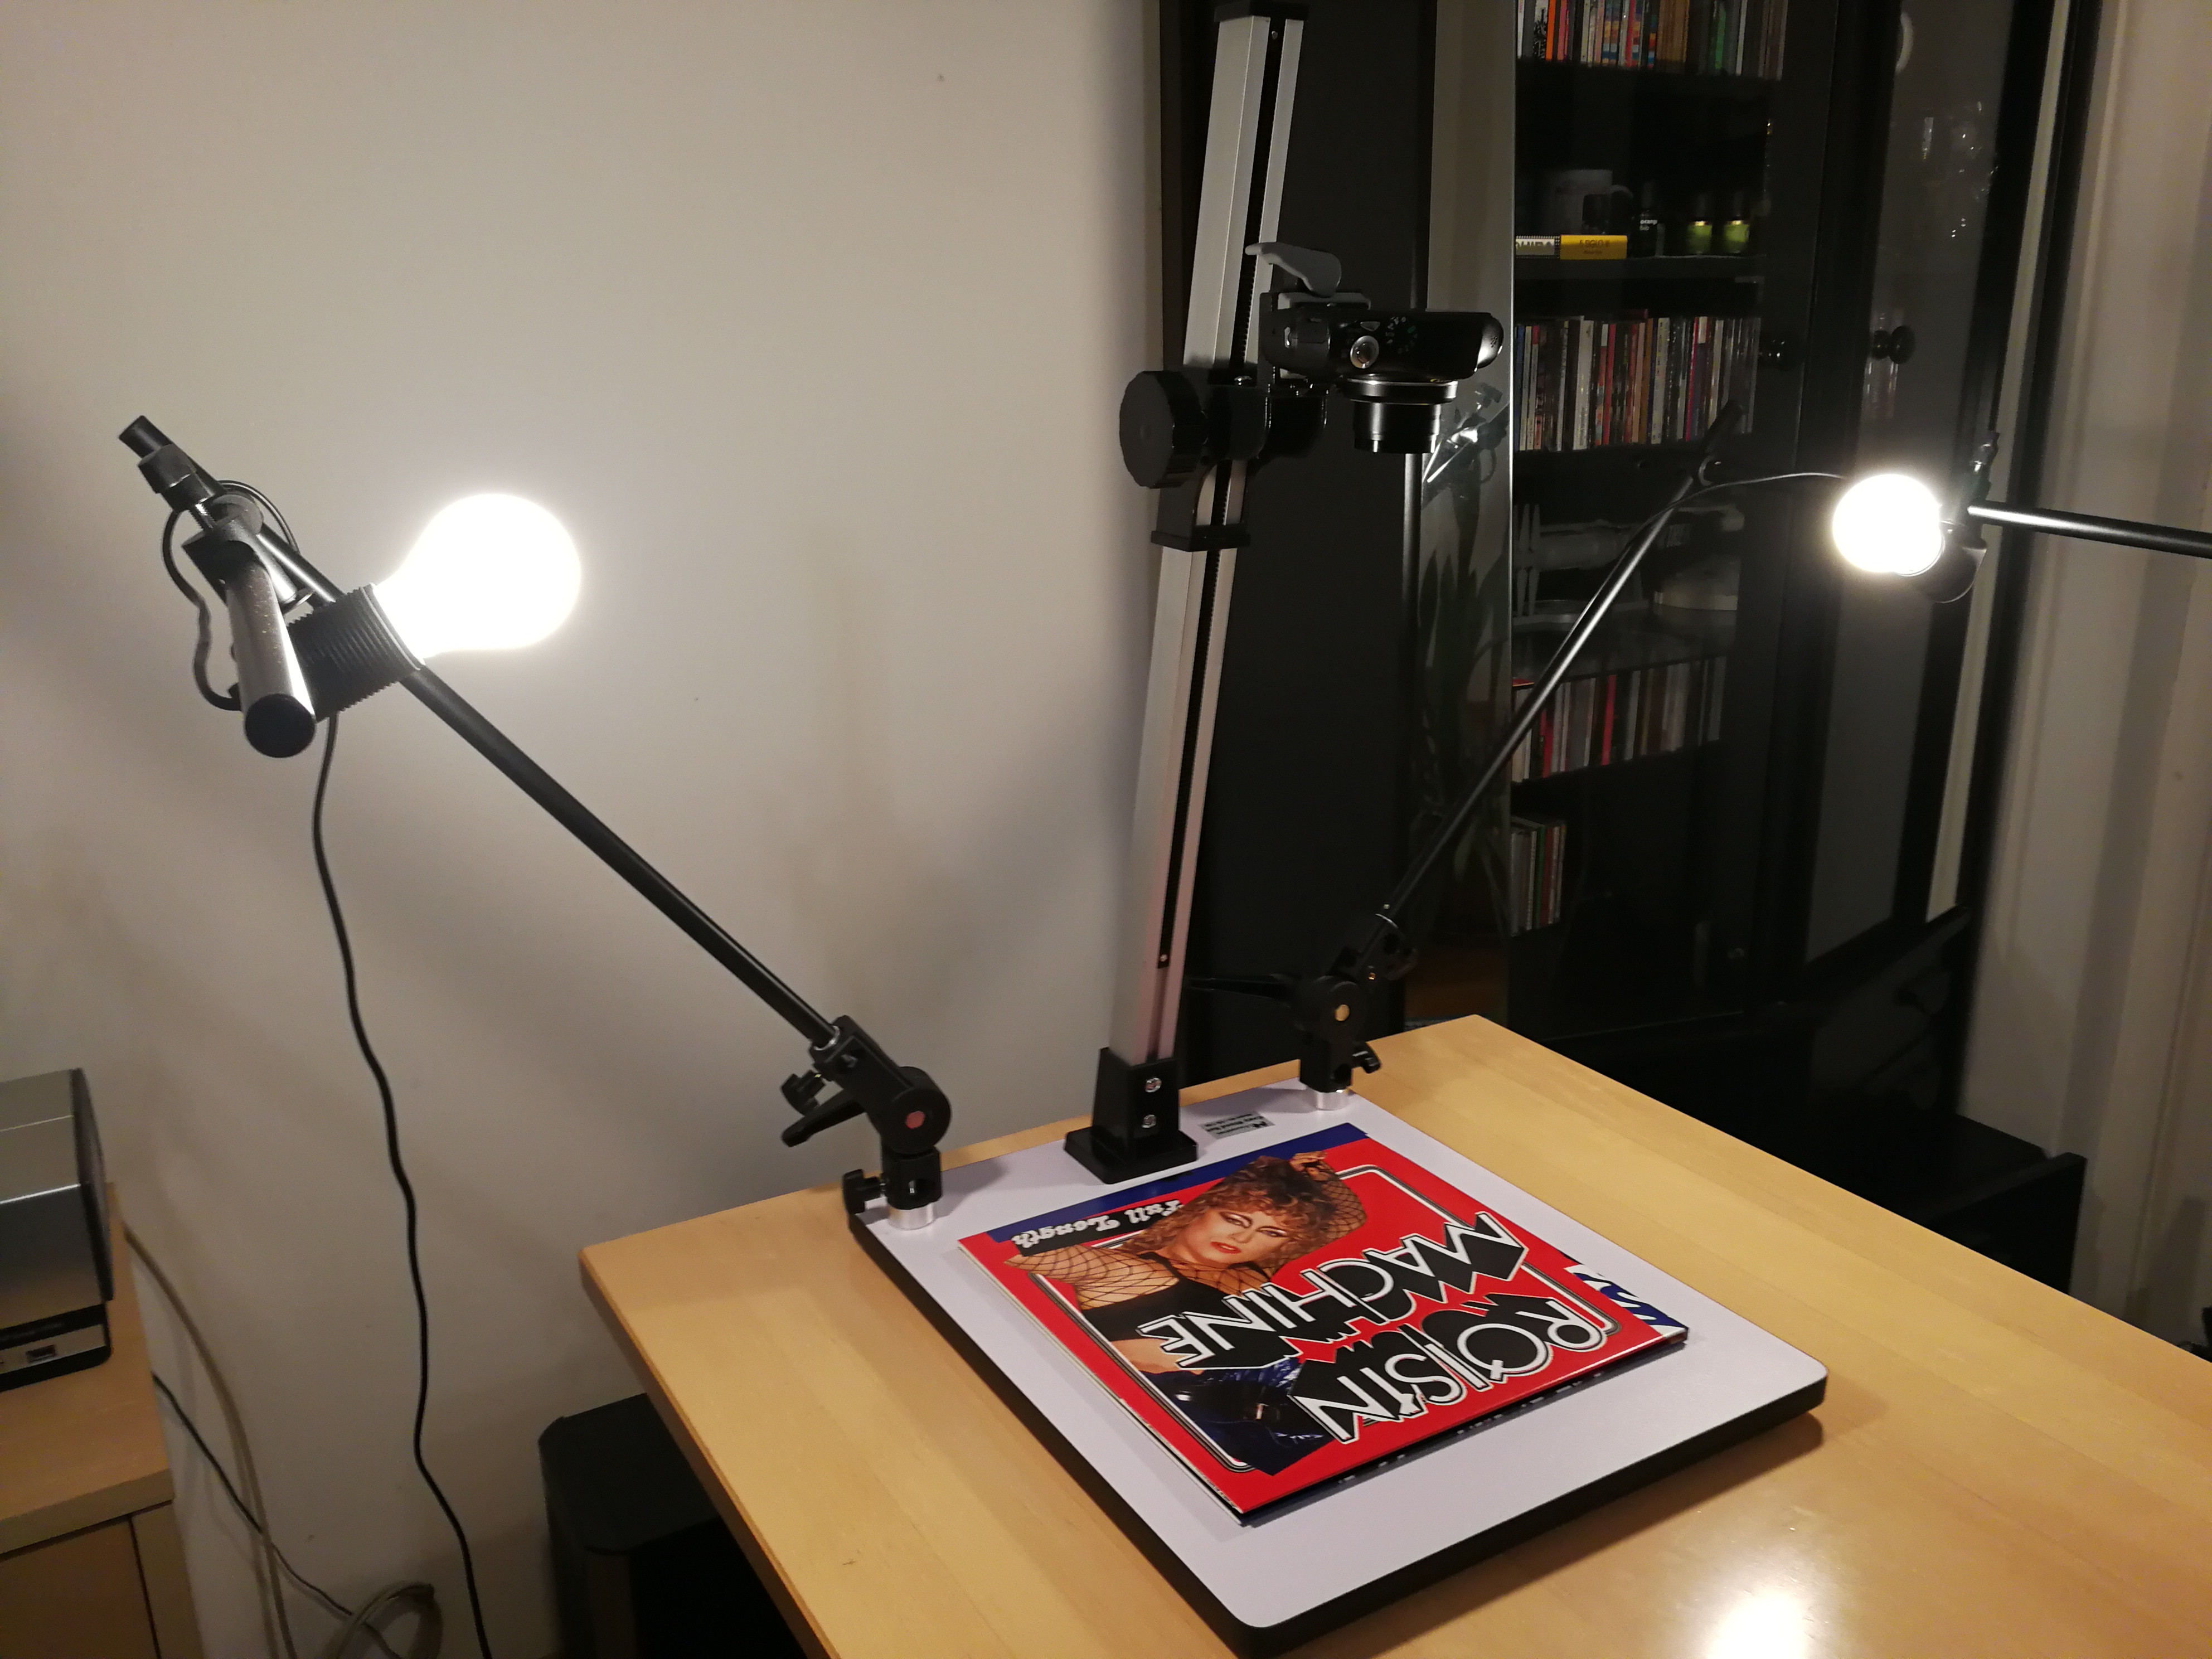
The “reprokid” has only a 30x30 base and its lighting arms have a maximum incline of 30°. This might be enough, but I’ve bought another candidate:
https://www.photospecialist.at/falcon-eyes-copy-stand-cs-730
It has a 40x40 base. Its arms can be positioned at any angle, so it’s no problem moving the lights out of the “danger zone”.
I took some test pictures, but it will take a few more tries before I get satisfactory results. And the camera isn’t quite what I was hoping for… a Canon Powershot SX130 IS (marginally better than my own, but for now that will do)
https://musicbrainz.org/release/54e81d17-1679-4640-82f1-f021ef3e5808/cover-art
I also added a raw image. It shows quite badly distorted edge areas, but it should be possible to improve that. I didn’t manage to set the focus manually - the pictures were taken with autofocus…